0%
Choosing a Bike Light is less about finding the brightest beam and more about matching the light to your rides. A commuter crossing lit streets needs different coverage from a rider following a dark, uneven trail. The right setup also depends on speed, weather, battery access, and where the light can be mounted securely.
This guide compares common options, including compact front lights, wider-beam commuter models, high-output trail lights, rear lights, and dynamo-powered systems. It explains practical trade-offs: a narrow beam may reach farther but leave nearby edges dim, while a broad beam can reveal more of the road. Rear lights help others notice you, but their visibility varies with angle, daylight, clothing, and traffic conditions. Not brightness alone.
Runtime deserves a close look. A light that dims before your trip ends may be less useful than a modest model with a dependable battery. Check the maker’s runtime claims against the settings you expect to use, and consider how easily you can recharge or replace the power source. Small details matter. Mounts can loosen on rough roads, and gloves can make tiny buttons awkward. It is easy to focus on impressive lumen figures; I would still compare beam shape and everyday handling before deciding. No single type suits every rider, so the sections ahead offer a clear way to weigh visibility, comfort, and reliability.
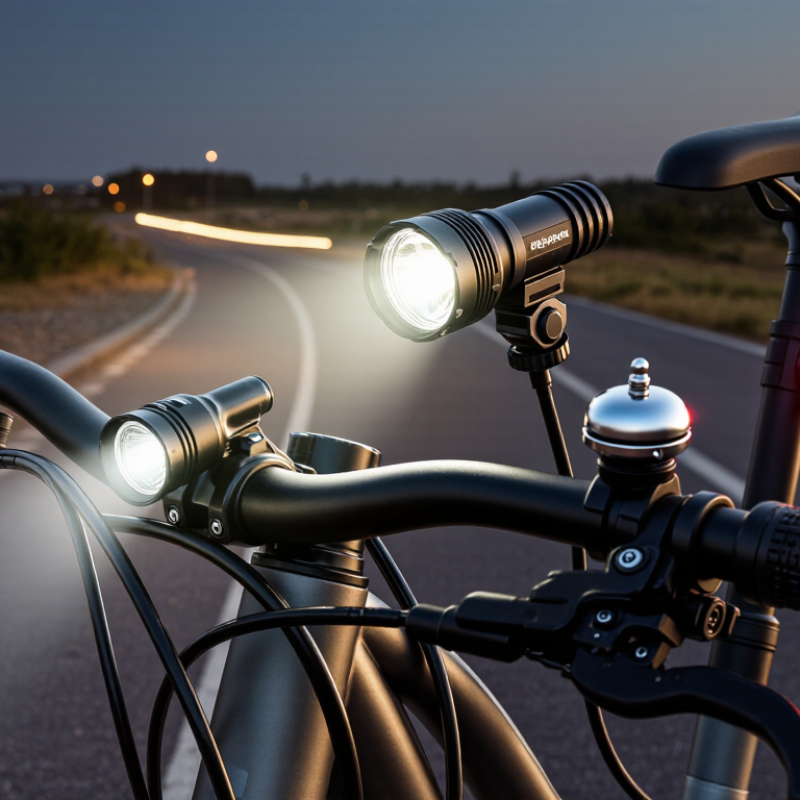
Table of Contents
[Hide]
How Bike Lights Are Classified by Function and Placement
Bike lights are best classified by what they do and where they sit. A front light helps you see the road and helps others notice you. For dark, unlit routes, choose a steady beam that reveals potholes without pointing into oncoming eyes. A rear red light mainly signals your presence; it does not show you what lies ahead. Side lights or wheel lights can make your movement easier to judge at intersections. They add visibility, but they cannot replace a front and rear light.
Placement changes how useful a light is. A handlebar light gives a stable view of the road, while a helmet light follows your gaze around bends. That can be handy, though looking toward someone may briefly shine light into their eyes. Mount a rear light on a seatpost or rear rack, where bags and clothing will not cover it. Small lights on a fork or wheel can add side visibility. Not every setup needs every position.
Tips: Check the beam angle against a wall before riding; aim it slightly down. Use a steady front beam when you need to see surface detail, and consider a flashing mode in daylight to catch attention. Test each light from several angles, not just from behind. A light can seem bright in your hand and still disappear beneath a jacket hem.
FAQS
What does a front bike light do?
It helps you see the road and makes you easier to notice. On dark roads, a steady beam can reveal potholes and wet leaves.
What is a rear light for?
A rear red light signals your position to people behind you. Mount it on a seatpost or rear rack, clear of bags and clothing.
Do side or wheel lights replace front and rear lights?
No. They make your movement easier to judge at intersections, but they do not replace front and rear lights.
Should I use a flashing or steady front light?
A flashing mode can catch attention in daylight. At night, a steady beam helps others judge where you are. Small detail, big difference.
How should I aim my front light?
Shine it slightly down, not into approaching eyes. Check the beam against a wall before riding.
Is a helmet light better than a handlebar light?
A handlebar light gives a stable view of the road. A helmet light follows your gaze around bends, but can briefly shine into someone’s eyes.
What lights suit an unlit road?
Choose a front light with enough reach to reveal bends, potholes, and leaves. A wide beam can help on dark paths, but aim it carefully.
How can I keep my lights useful in rain or cold weather?
Check that they are secure and suited to wet conditions. Battery life can drop in cold weather or at the brightest setting, so leave some margin. I still forget sometimes.
Conclusion
Bike lights are commonly classified by their function and where they are mounted. A front light helps you see the road ahead, making it easier to spot changes in the surface and navigate in low-light conditions. A rear light helps you stand out to traffic approaching from behind, while side and wheel lights can make your bicycle more noticeable from multiple angles, especially at intersections.
Choosing the right Bike Light setup depends on where, when, and how you ride. For dark routes, prioritize a front light that clearly illuminates your path and a rear light that is easy to notice. In well-lit areas or during daytime rides, visibility-focused lights can help you be seen without needing to illuminate the road. Consider mounting position, beam direction, and ease of use so your lights suit your riding conditions and provide clear visibility around you.
Updated:

Ethan
Ethan is a professional marketing specialist with a strong understanding of the company’s products, their practical applications, and the needs of the customers they serve. He regularly contributes expert articles to the company website, sharing clear, useful insights that help readers make......